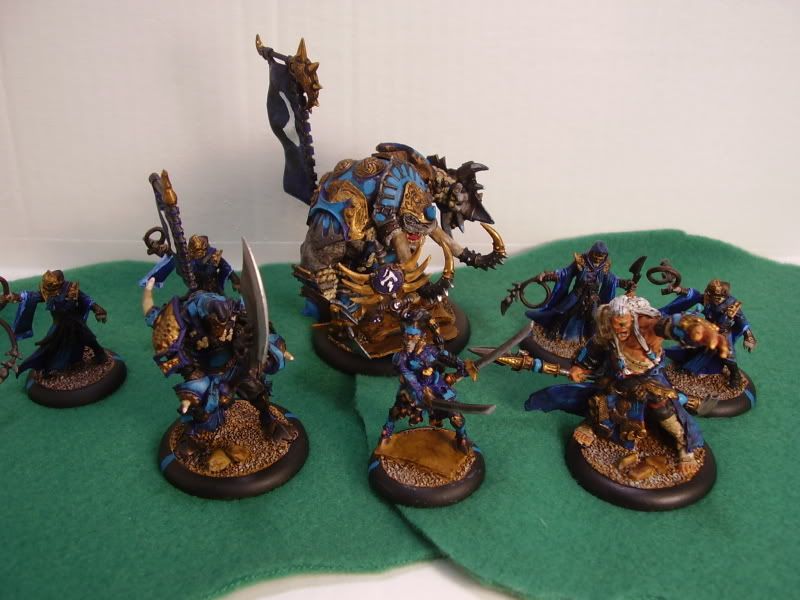
The List: (numbers link to close-up pictures of the model)
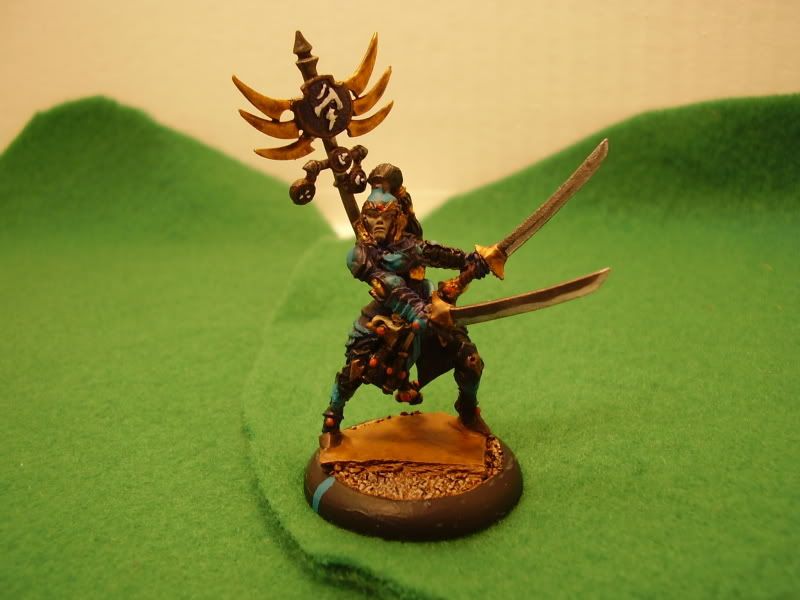
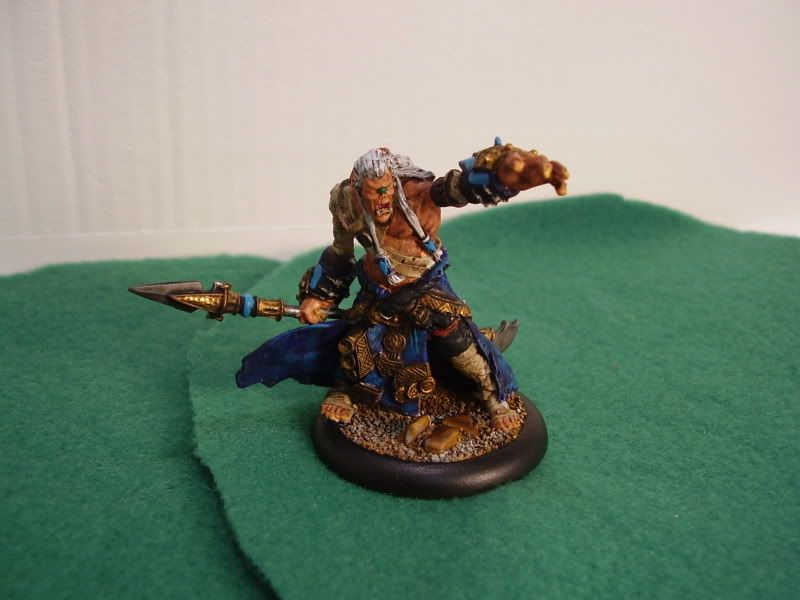
Archdomina Makeda (*5pts) [1][2]
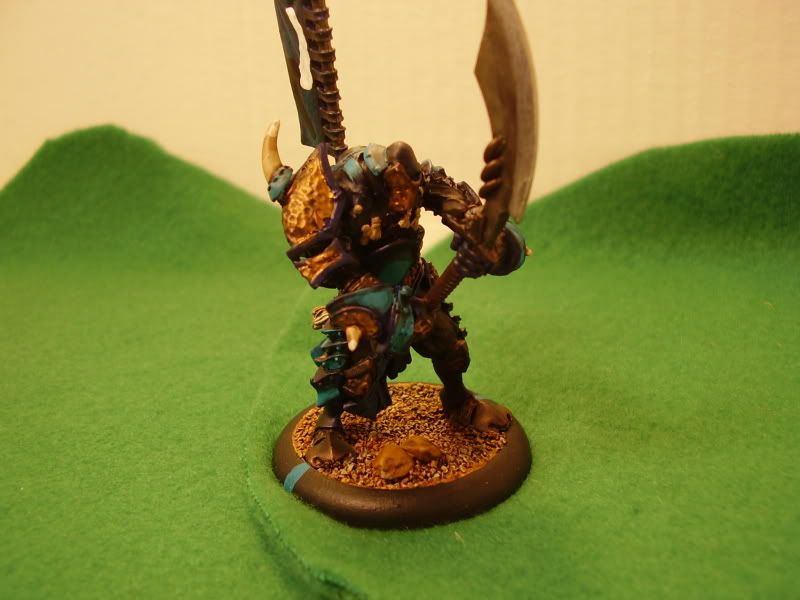
* Cyclopse Savage (5pts) [1][2][3]
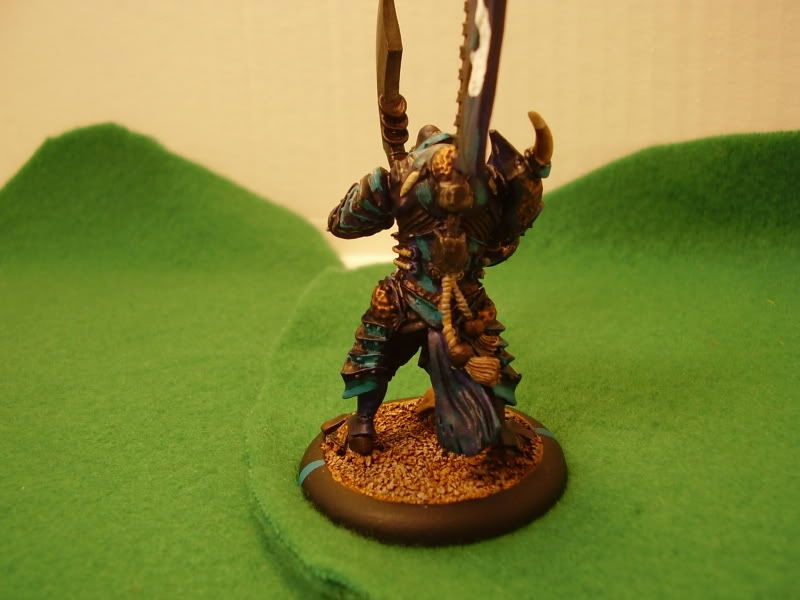
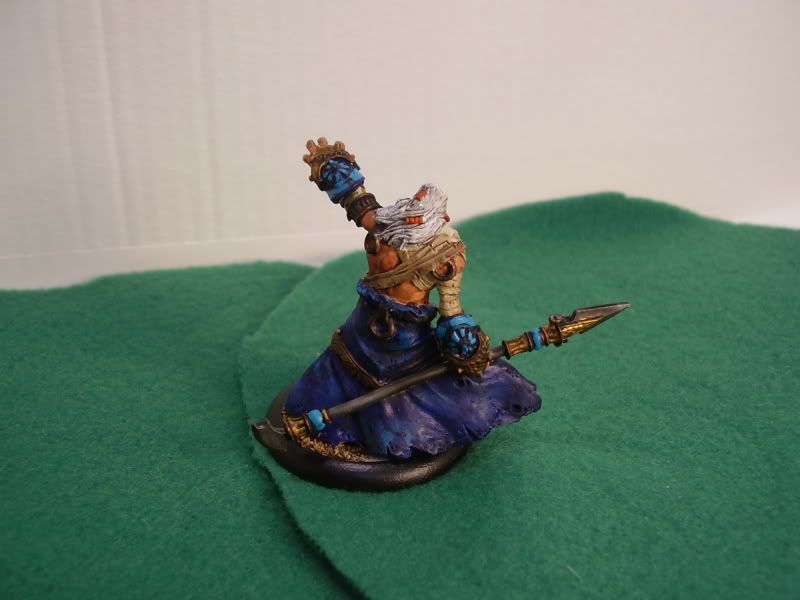
* Cyclopse Shaman (5pts) [1][2]
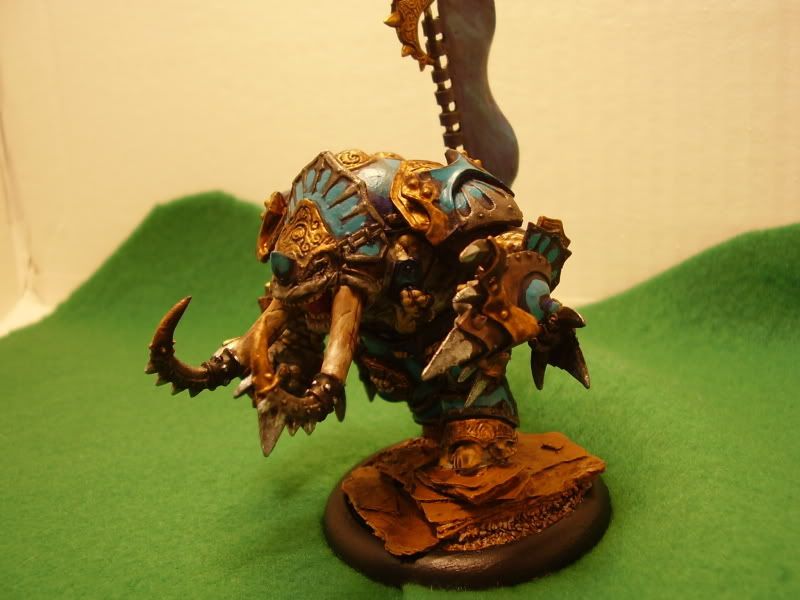
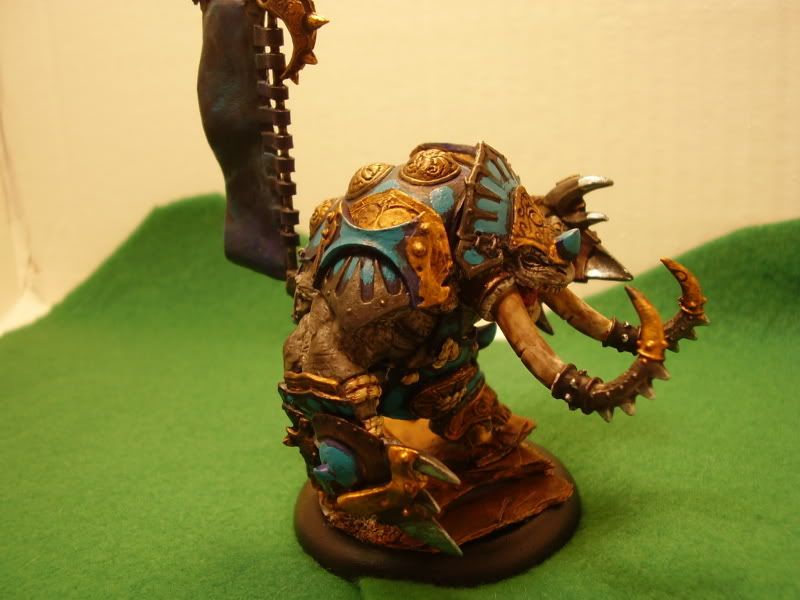
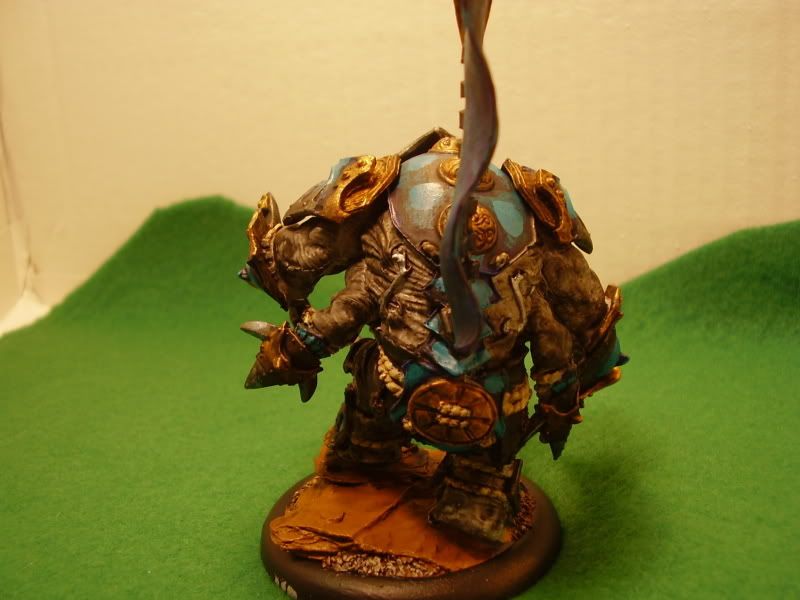
* Titan Gladiator (8pts) [1][2][3][4]
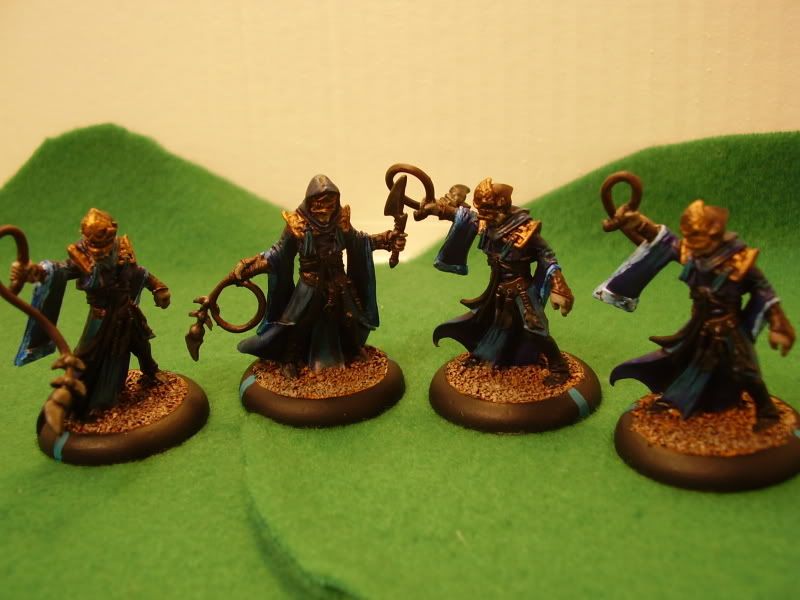
Paingiver Beast Handlers (Leader and 3 Grunts) (2pts) [1]
Preparation/Painting/End Product:
Wow! Just, seriously... wow! I am blown away by the fact that I painted these guys. I -love- the color scheme, they pop on the table and really look amazing. They're by far the best models I've ever done, and considering I'm painting them as fast as I can, I'm very happy with them. Due to a lot of different factors, I wasn't able to finish them up in the two week time period, but I'm only going to overshoot it by a day, and I'm happy with that. The next models are much smaller and should go much faster. As an example, all four of the Paingivers took me only two days. Makeda was about an hour. The Savage and the Gladiator took the most time, with the Gladiator taking a whopping 2 days of solid painting to finish. But, in total, he was still probably only 4-5 hours worth of work.
Battle Reports:
Battle 1 - Sapphire Guard vs. Shattered Kriel (Trollbloods of StarmanTTLB)
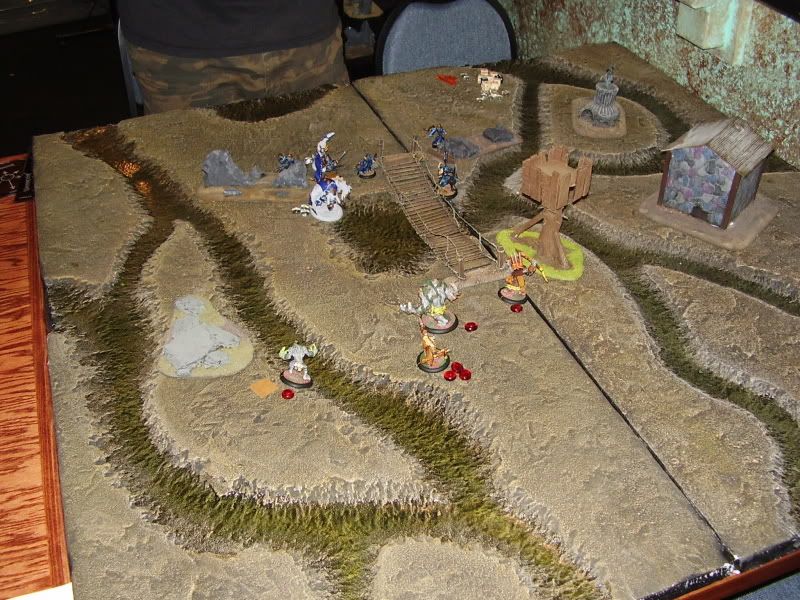
The pictures are a little hard to see, but we played this game on a board that had shallow rivers running through it, which we counted as rough terrain. Perfect for the swamp trolls, obviously. Deployment was fairly basic, across from each other, each of us deploying near the bridge that spanned a large pond. Starman went first, moving his Impaler up by the end of the bridge, the Mauler moving up in front of Grim, and the Pyre running off to one side to start a flanking maneuver on my army with the assistance of Cross Country.
I cast Rush on my Gladiator and Savage, running them both out in front of the army, the Savage to one side of the bridge, the Gladiator in front of the main force. Makeda put Defender's Ward on herself, Savagery on the Paingivers, and then moved up behind the Titan. Rest of the army moved up. [end of turn 1]
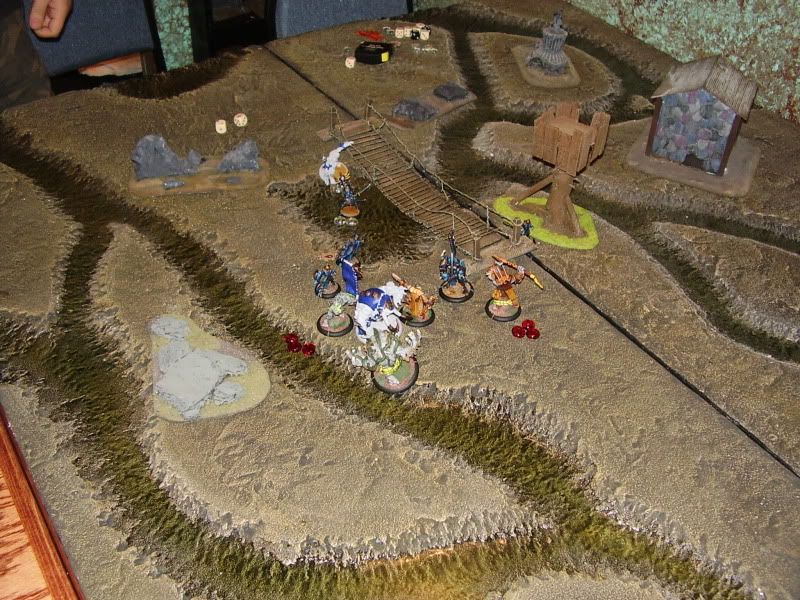
Turn two began with the Impaler throwing a spear at the Savage and boosting the attack roll, looking for the crit slam. Roll was super low and the spear wiffed. Next up, Grim moved up and attacked the Gladiator, hoping to get the extra 3" of charge range that his gun gives when it hits a target. Amazingly, he missed that shot as well, even though the Gladiator had only DEF 12. The Mauler moved across in front of Grim and off to one side, ready to intercept the Gladiator on the next turn. And the Pyre Troll lobbed his fire shot at the Gladiator, hitting and lighting him on fire, but doing no damage. The Gladiator would fail to remove this fire over the course of the game, but never took damage from it.
I began my activation by upkeeping my spells. The Shaman moved up and cast Rush on the Savage and shot the Impaler for a little damage, then the Paingivers moved up and one of them Enraged the Gladiator. Next, Makeda moved up and cast Carnage, making sure that every troll except the Pyre was in her control area. The Gladiator then activated, used his Rush animus on himself, and with the extra distance and pathfinder was able to slam the Mauler. Rolled a 3 for distance, and because of the Gladiator's bonuses was able to slam the Mauler 5" back, clipping Grim on the way and landing the Mauler about 2" behind Grim. The Gladiator used his follow up, but stopped once he was b2b with Grim, leaving the Mauler out of reach. Bought 2 auto-hitting attacks against the knocked down warlock and forced him to transfer the damage rolls to his Mauler and Pyre troll. The Savage ran around the end of the bridge and engaged the Impaler. [end of turn 2]
Turn 3 began with Starman attempting to shake knockdown on his warlock and Mauler. Grim stood up, but the Mauler was unable to because it's Spirit was out and couldn't be forced. All of the beasts that had taken damage ate whelps to get health back, and the Mauler moved up, forfeiting his attack. The Pyre charged the Gladiator in the back, hitting, but not doing much in the way of damage. The Impaler moved around and also attacked the Gladiator, taking out his Mind spiral, but not damaging him enough to kill. Grim couldn't walk away for fear of taking a freestrike that, even if transferred, could have possibly killed any of his beasts.
I activated, casting Carnage with Makeda again and camping the rest of my fury, then moving my paingivers up and getting one close enough to the Gladiator to cast Medicate. Gladiator healed his Mind spiral, then activated. I attacked Grim with a Headbutt and boosted the attack roll, succeeding and knocking him down. After buying two more attacks, Grim was out of fury to transfer with, and had lost about 2/3's of his health. The Savage activated, moved up to Grim, and killed him with his first attack. [end of game]
Thoughts: This list is fast! As a Menoth player, I'm not used to being able to get speed like this, and from what I've read this is a new experience for Skorne players as well! Definitely enjoyed the synergy of the models and felt I played extremely well.
Battle 2 - Sapphire Guard vs. Circle (played by PPS_Mod:Garvin!)
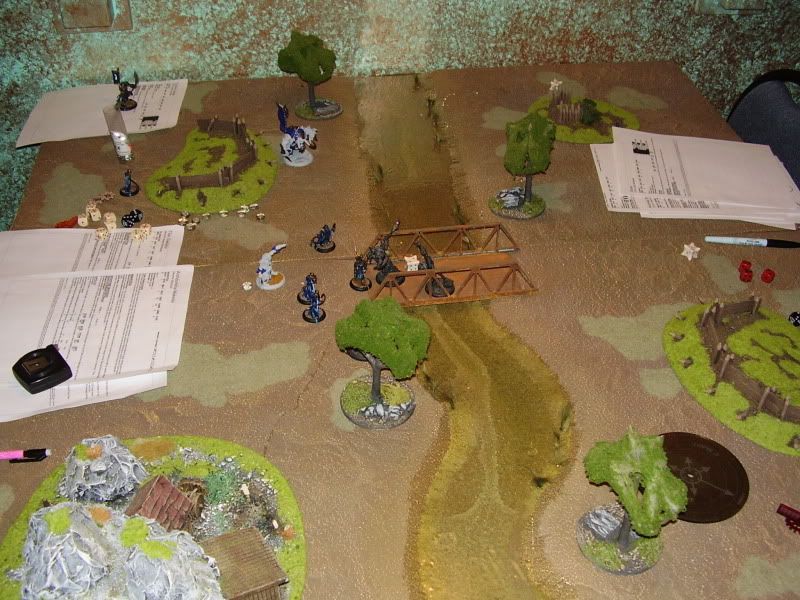
Grant was kind enough to oblige me with a game against his Circle, and it was a fantastic game. I won't give the play by play, as I did above, but the end of the game was truly epic. Grant brought Kromac, a Pureblood, a Gorax, and a min unit of Wolfriders. We also played on a board that included a bridge in the middle. By the end of turn 2, the Wolfriders had swept around the bridge to engage my Savage, and the Pureblood charged straight across the bridge to finish it off. My paingivers stripped the fury off of the Pureblood before it ate a charge from my Gladiator that killed it fairly quickly, leaving the Gladiator at the mouth of the bridge. (This is important)[pic from right about this point]
Kromac beasted out and charged the Gladiator with 4 fury, tearing into him and buying attacks, then feated, getting 7 more fury, and continuing. after all of this, the Gladiator still had 8 health! The wolfriders tried to move into a position to finish off the Titan, but my paingivers were blocking that with their reach weapons. Two of the wolfriders managed to do 7pts of damage to the Gladiator, and one ate a freestrike from a paingiver that did just enough damage to box it instantly (go whip dudes!) The Gorax couldn't move up far enough to attack the Titan, so he was sitting at the end of the bridge with 1hp and engaging Kromac, who only had 1 fury to transfer with!
I activated, attempted to Medicate the Titan, and rolled a 1! I could only heal one spiral, so I healed his Spirit, and the last remaining health had been in his Body, so he was currently rolling 1 die for attacks. Knowing I couldn't hit Kromac reliably, I attempted to two-handed throw the wolfrider next to me point-blank into Kromac's face! Boosted the attack roll and failed! The Titan bought an attack at that point and boosted, killing the wolfrider.
I now had only the Shaman and Makeda left to go, but the Gladiator was blocking the way! So, what would I do? Thinking like a Menoth player: attack my own guy! I declared that the Shaman was going to shoot the Gladiator in the back, I hit, and on rolling damage I rolled a 20! I only did 1pt of damage, which -didn't- kill the Gladiator because of the 1pt I had healed on him!
So, now it was Makeda's turn. She charged the Gladiator in the back, killing him easily, then attempted to use her sidestep to get to Kromac, but couldn't make it! So, I instead side-stepped her to a Paingiver, killed him, and side-stepped from there to Kromac! Bought extra attacks and... took Kromac to 2 health. Grant activated and killed Makeda. [end game]
Thoughts: Well, if I had rolled anything other than a 1-2 on my die roll for Medicate, I would have won. If I had charged my Gladiator with the Shaman instead of making a ranged attack, I probably would have killed it and Makeda would have had a direct charge path to Kromac, and I would have won. If Makeda had upkept Defender's Ward and cast Carnage before charging the Gladiator (I would have reaved 4 fury off of him when he died, putting me back to full fury) I would have been a +2 DEF, +2 ARM, and +2 on my attack rolls, and probably would have either killed Kromac, or survived the next turn and killed him on that turn. So, I had a few planning errors and some bad luck on dice rolls, but again the army played very well. Circle is superfast and I wasn't ready to have his stuff attacking me that fast, which was an error on my part.
Expanding To 25 Pts:
I've already ordered the models to do so, and my 25pt list will add the following:
Praetorian Swordsmen (Leader and 9 Grunts) (6pts)
* Praetorian Swordsmen Officer & Standard (2pts)
Extoler Soulward (2pts)
The full Swordsmen unit plus the UA is just insane. 11 models with 2 attacks that can auto-plink beasts/jacks, a mini-feat that gives them Anatomical Precision for a turn, granted side-step, and tactics ranked attacks. All for 8pts. Phenomenal. The Soulward will follow behind that unit, collecting souls and spitting them back out with boosted ghost shots and the ability to grant a model Eyeless Sight and Magical Weapon for a turn. The Swordsmen will also be great with Makeda's feat, which is currently fairly useless for the 15pt list, only keeping the Paingivers alive for a turn.
Very excited to continue this!
No comments:
Post a Comment