We'd intended to use 2x2" legs, cedar if I remember right, about 36" long. 36" may seem kinda long, but when we were at the hardware store, the pre-lathed 27" legs were so incredibly short we couldn't imagine using them for the table. Well, turns out that 36" is roughly a foot longer than you want! The table at 34" was waaay too high for proper play, and the way we'd mounted the legs lent itself to a surprising amount of wobble. This is the table with tall, wobbly legs:

So today, Gemini hit the hardware store again and picked up those pre-lathed 27" legs and standard table-leg-mounting hardware, and it gave us a perfectly placed table, basically a couple of inches higher than your standard kitchen table. Here is the table frame with new legs:
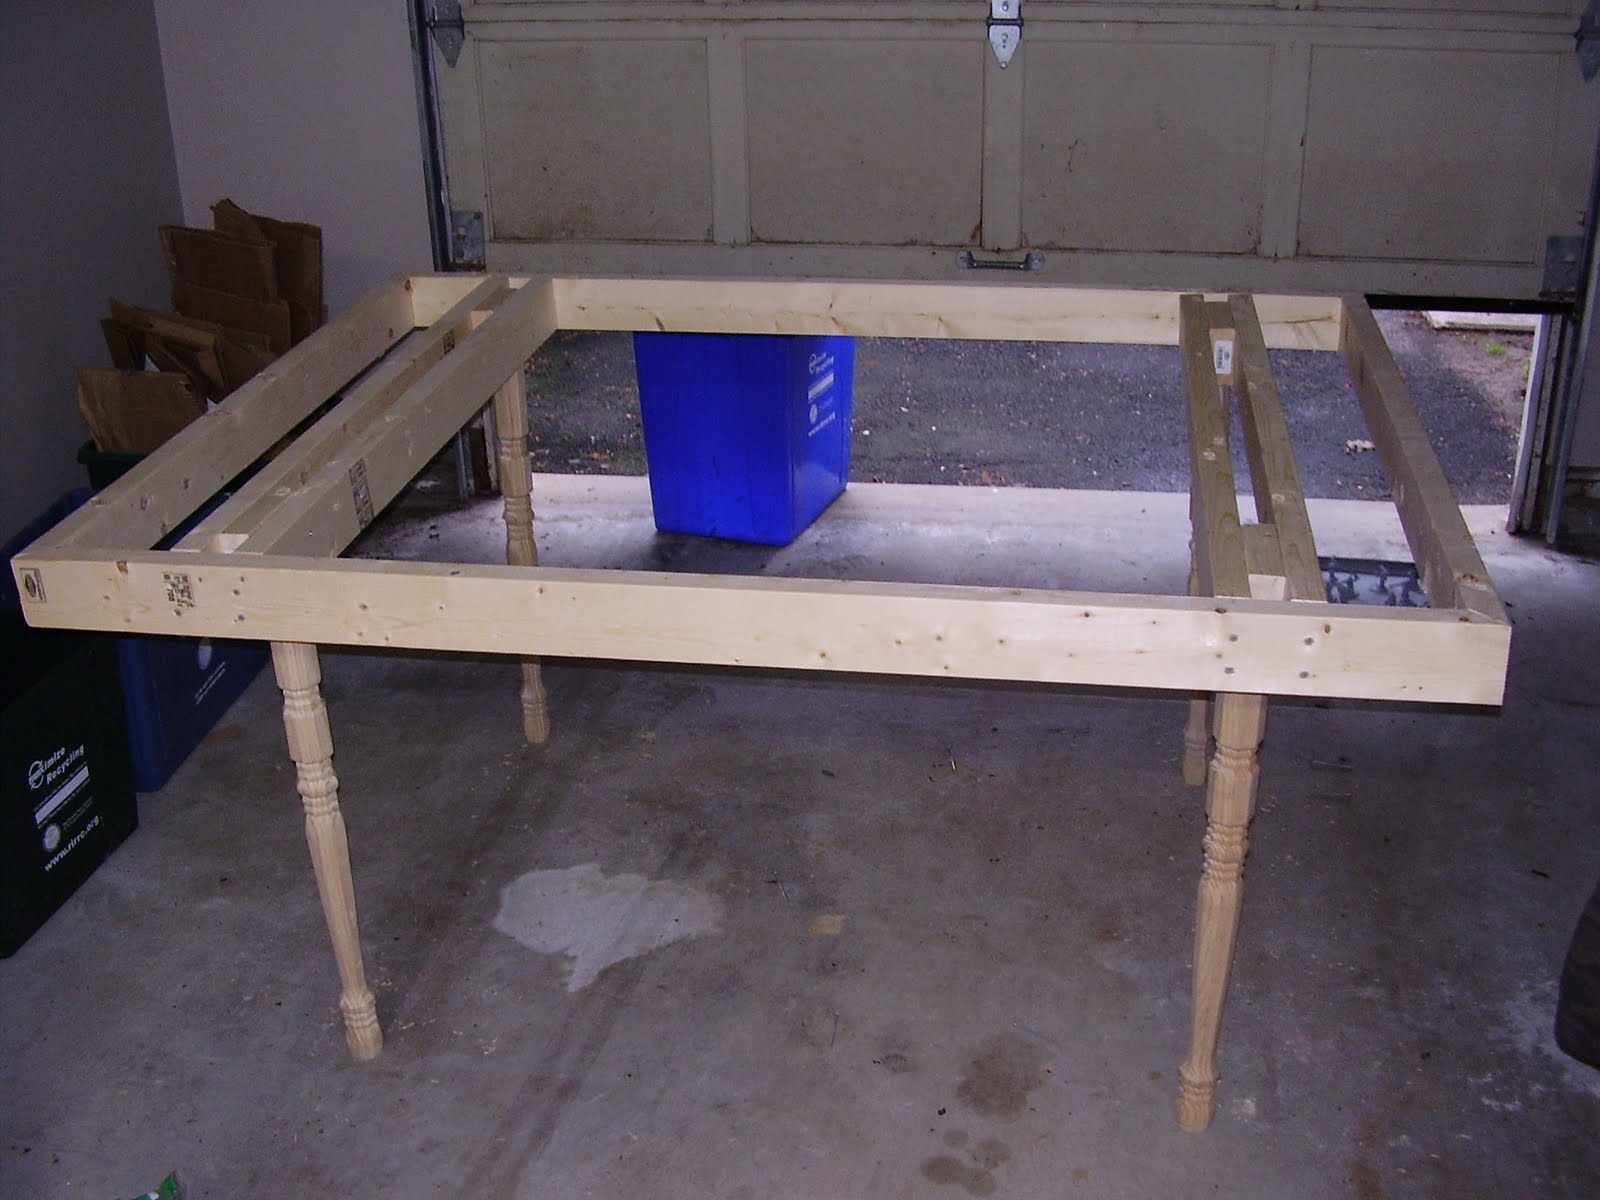
To describe what you see above a little better: The double supports on either end are going to be where the edges of the 4x4' area and the edges of the two long ledges abut. So the table will be 4'x5'4", with the extra 1' on the long side being split into two 8" ledges. These are basically to hold cards and such, so the 4x4 area is purely for models.
Upon adding the legs, we took our plywood and attached it to the table. This is exactly the 4x4 gaming area:

We cut the ledges and nailed them in. The pic below shows two boards stuck in the gap between the ledges and the table proper - THESE WON'T STAY THERE! We placed them there for the picture so that you can see kinda the effect we're going for. Instead, a thinner board will go in there, between 1-2". This will go on the non-ledge sides too, basically boxing in the 4x4 area. This will let us have a sunken gaming area in the middle into which we can place our foam table pieces. The ledges won't be lipped like the 4x4 area, but a table skirt of 8" wood will go around the whole thing to hide the underside and make it look less "puny".

The last picture has the 4x4 foam laid out on the table, showing you the size and placement of the ledges:

Remaining steps:
* Cut and attach "lip" around all sides of the 4x4 area.
* Cut and attach "skirt" around entire table outer edge.
* Stain and varnish the whole damn thing.
* Texture and seal the foam.
No comments:
Post a Comment